Getting an expansion pipe the hard way.
Two-stroke exhaust is a no-joke topic among those that love these smokers. The fact is: if you want to go fast, you need the right gear and a good pipe is integral to that end. But pipes are very specific not only by make and model but also application. Thus making my search for the “right pipe” almost pointless. The only viable option is custom fabrication. But even this is not easy and can be very expensive.
This was the pipe i took on the first trip out to the salt. The math was primitive and the fabrication wasn't very good. This was replaced by an aftermarket DG once the engine was ported. Unfortunately that DG was designed for MX and not WOT.

I got lucky though, I met Paul of olesenmoto.com. With his help I may have the “right pipe”.
Step number one is to read everything you can possible get your hands on pertaining to the 2-stroke engine or internal combustion. Bone-up and read. Any of the old articles by Gordon Jennings is a good start.
Then crunch numbers. Finding a 2-stroke exhaust design program is not that hard and who’s to say the one I used is the Bible. But they are not the easiest to use. Fortunately I had Paul. It was all him that interpreted my measurements and requirements into a physical shape. Along with all of the engine specs that went into it, things were altered according to materials and tools available. 20 gage carbon was gonna be the ticket.
The shape is now rendered on paper and now must be adapted to the bike. Paul turned me onto this nifty trick using some 1/8” all thread and some fender washers. The path was plotted and now I had some bends to incorporate. A few emails were exchanged and the rendering was now in my hands.


He was able to augment the design and then lay these segments flat, giving me templates to use for cutting out the proper shapes. This was integral in the fabrication because the tapers, diameters and lengths need to be spot on for it to work. Everything except two pieces were cut from flat sheet with a skinny wheel and then the careful application of a flapper-disk.


Most of the smaller pieces were easy enough to manipulate with just bare hands but the longer ones were a different story. Welding two pipes parallel to each other while leaving an 1/8” gap between created a shade tree break. And drawing radiating lines kept the bends spaced properly enough. Then the creases were handled with the gentile use of a rubber mallet.


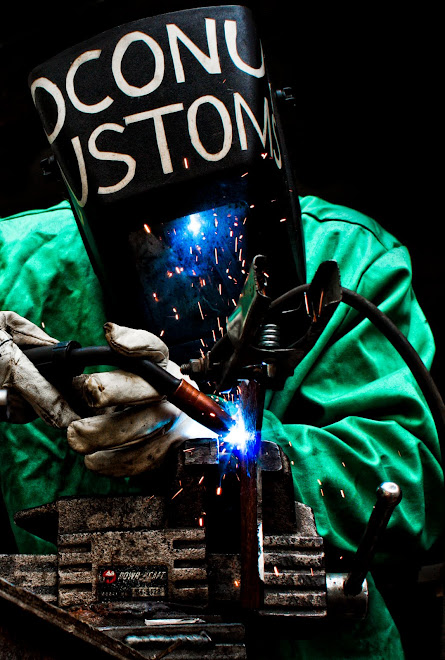
MIG welding this material would have been down right stupid. This made polishing all of the seams inside and out before assembly necessary in prep for TIGing.


The rest of mock-up was just a matter of fitting the seams closely and making it work on the bike. The next step is finishing welding which has been delayed due to my employer, its his machine so its his rules and hopefully we can strike a deal. The mounts have been skipped at this point because I think the heat of welding will warp it a little. So the location of those will happen afterwards. And then its off to the dyno with fingers tightly crossed…